Photogate setup for LoggerPro 3: to measure instantaneous
speed through two
gates, and time taken to pass from first gate to the second (lab Gravity and lab
Newton’s Laws)
- Make sure photogates are plugged into LabPro
interface. 1st gate that cart will pass through into Dig1.
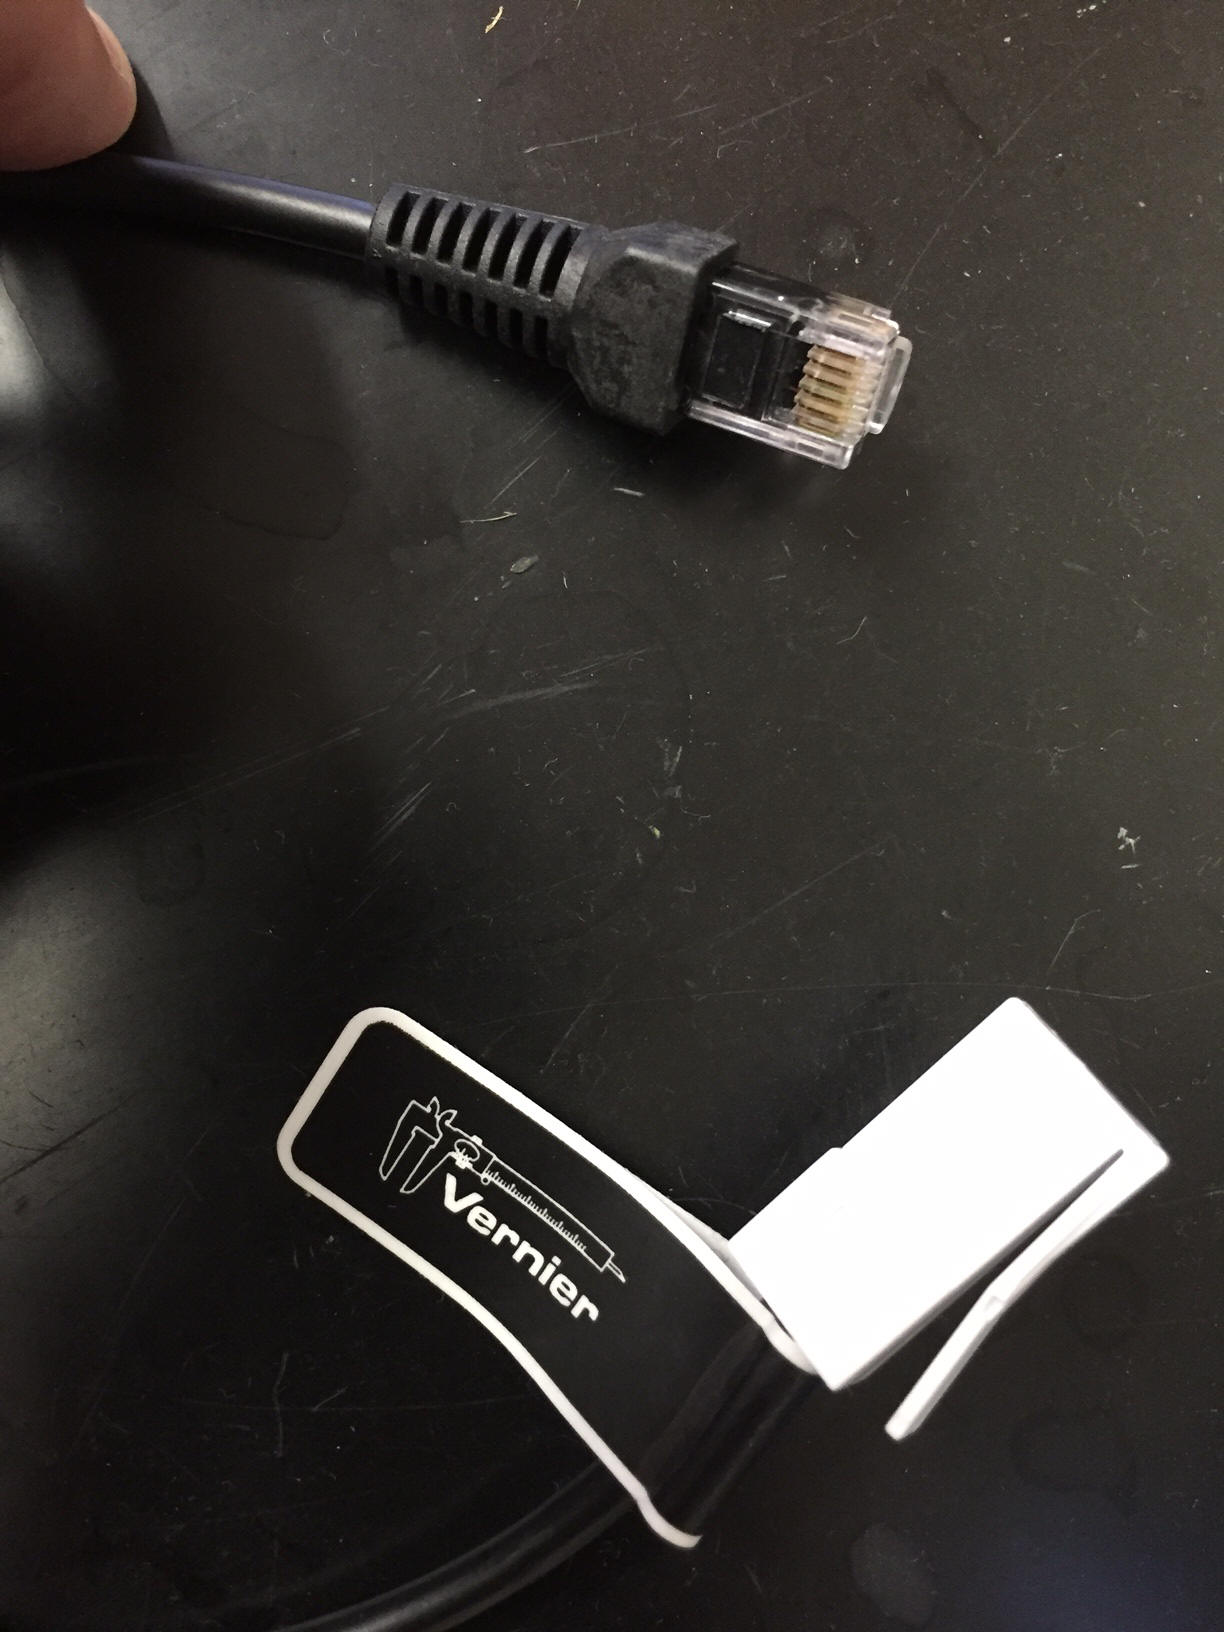
- The photogates can take two different cables. The
correct cable to use to connect to the LabPro interface i:s the one that has
the clear phone connector on one end, and the white Vernier connector on the
other end, as pictured below.
- Make sure LabPro is plugged into power and into PC. If
the green light is not on on the LabPro, it may not be getting power,
sometimes the power cables do not make good connection. An ultimate solution
may be to try batteries instead.
- Start LoggerPro 3, close any popup window. If the
"collect" button stays grayed out, check connections, restart things, but
ultimately it may be a bad USB cable.
- Choose File-Open-Probes&Sensors-Phtogates-Two Gate
Timing
- If you get sensor confirm box – choose "connect" twice
to confirm connection of each gate
- In the middle of the screen, you will see boxes
labeled "GateDistance1" and "GateDistance2". Double-click on the number to
replace it with the correct diameter of the object that is passing through
the gate. You must put the same number in each box. Enter as many decimal
places as you know - what shows in the screen will be rounded.
- Do a sample run and be sure you understand what each
number is and which numbers you need to keep
Copying data to Excel:
After each run (after each time you hit “Stop”), select and
copy all the data to Excel. Later you can edit it to keep what you need.