PHYSICS 106
Circuitry, Meters, and Ohm’s Law
Equipment:
-
DC power supply (two 2xAA battery holders and 4 AA batteries)
- Alligator clip wires
- Multimeter
- Lightbulb and holder (any voltage - the ones supplies should
be about 6V)
- Capacitor (any)
- 2 different resistors (47, 100, or 200 ohm)
- LED bulb
Experiment:
Determine the resistance of each of the following items
- The three resistors included in your lab kit,
- One of the light bulbs included in your lab kit,
- The LED bulb included in your lab kit,
- The capacitor included in your lab kit,
using the power supply and meters (applying Ohm's Law). Also
determine the resistance of each resistor using the color code on
the resistor by using this site: Resistor
Color Code Look-Up Site.
Be sure to graph voltage vs. current over the limited range you
can get with your power supply: You can get at most four data
points with four AA batteries, using 1, 2, 3, or all 4 of the
batteries. You can vary the voltage by using one or two batteries
in a battery holder, and by connecting battery holders. Be sure
the connect the positive from one battery holder to the negative
of the next battery holder. If the batteries are connected
incorrectly, they will get very hot and you may melt the holders!
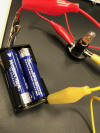
A note about the AA battery holders: Some
have wires, and some do not. You do NOT need wires on any, because
you can use your alligator clip wires to clip directly to the
battery connectors, and so although it is a 2xAA battery holder,
you can just put in one battery, and connect to the holder in the
appropriate way.
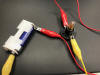
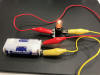
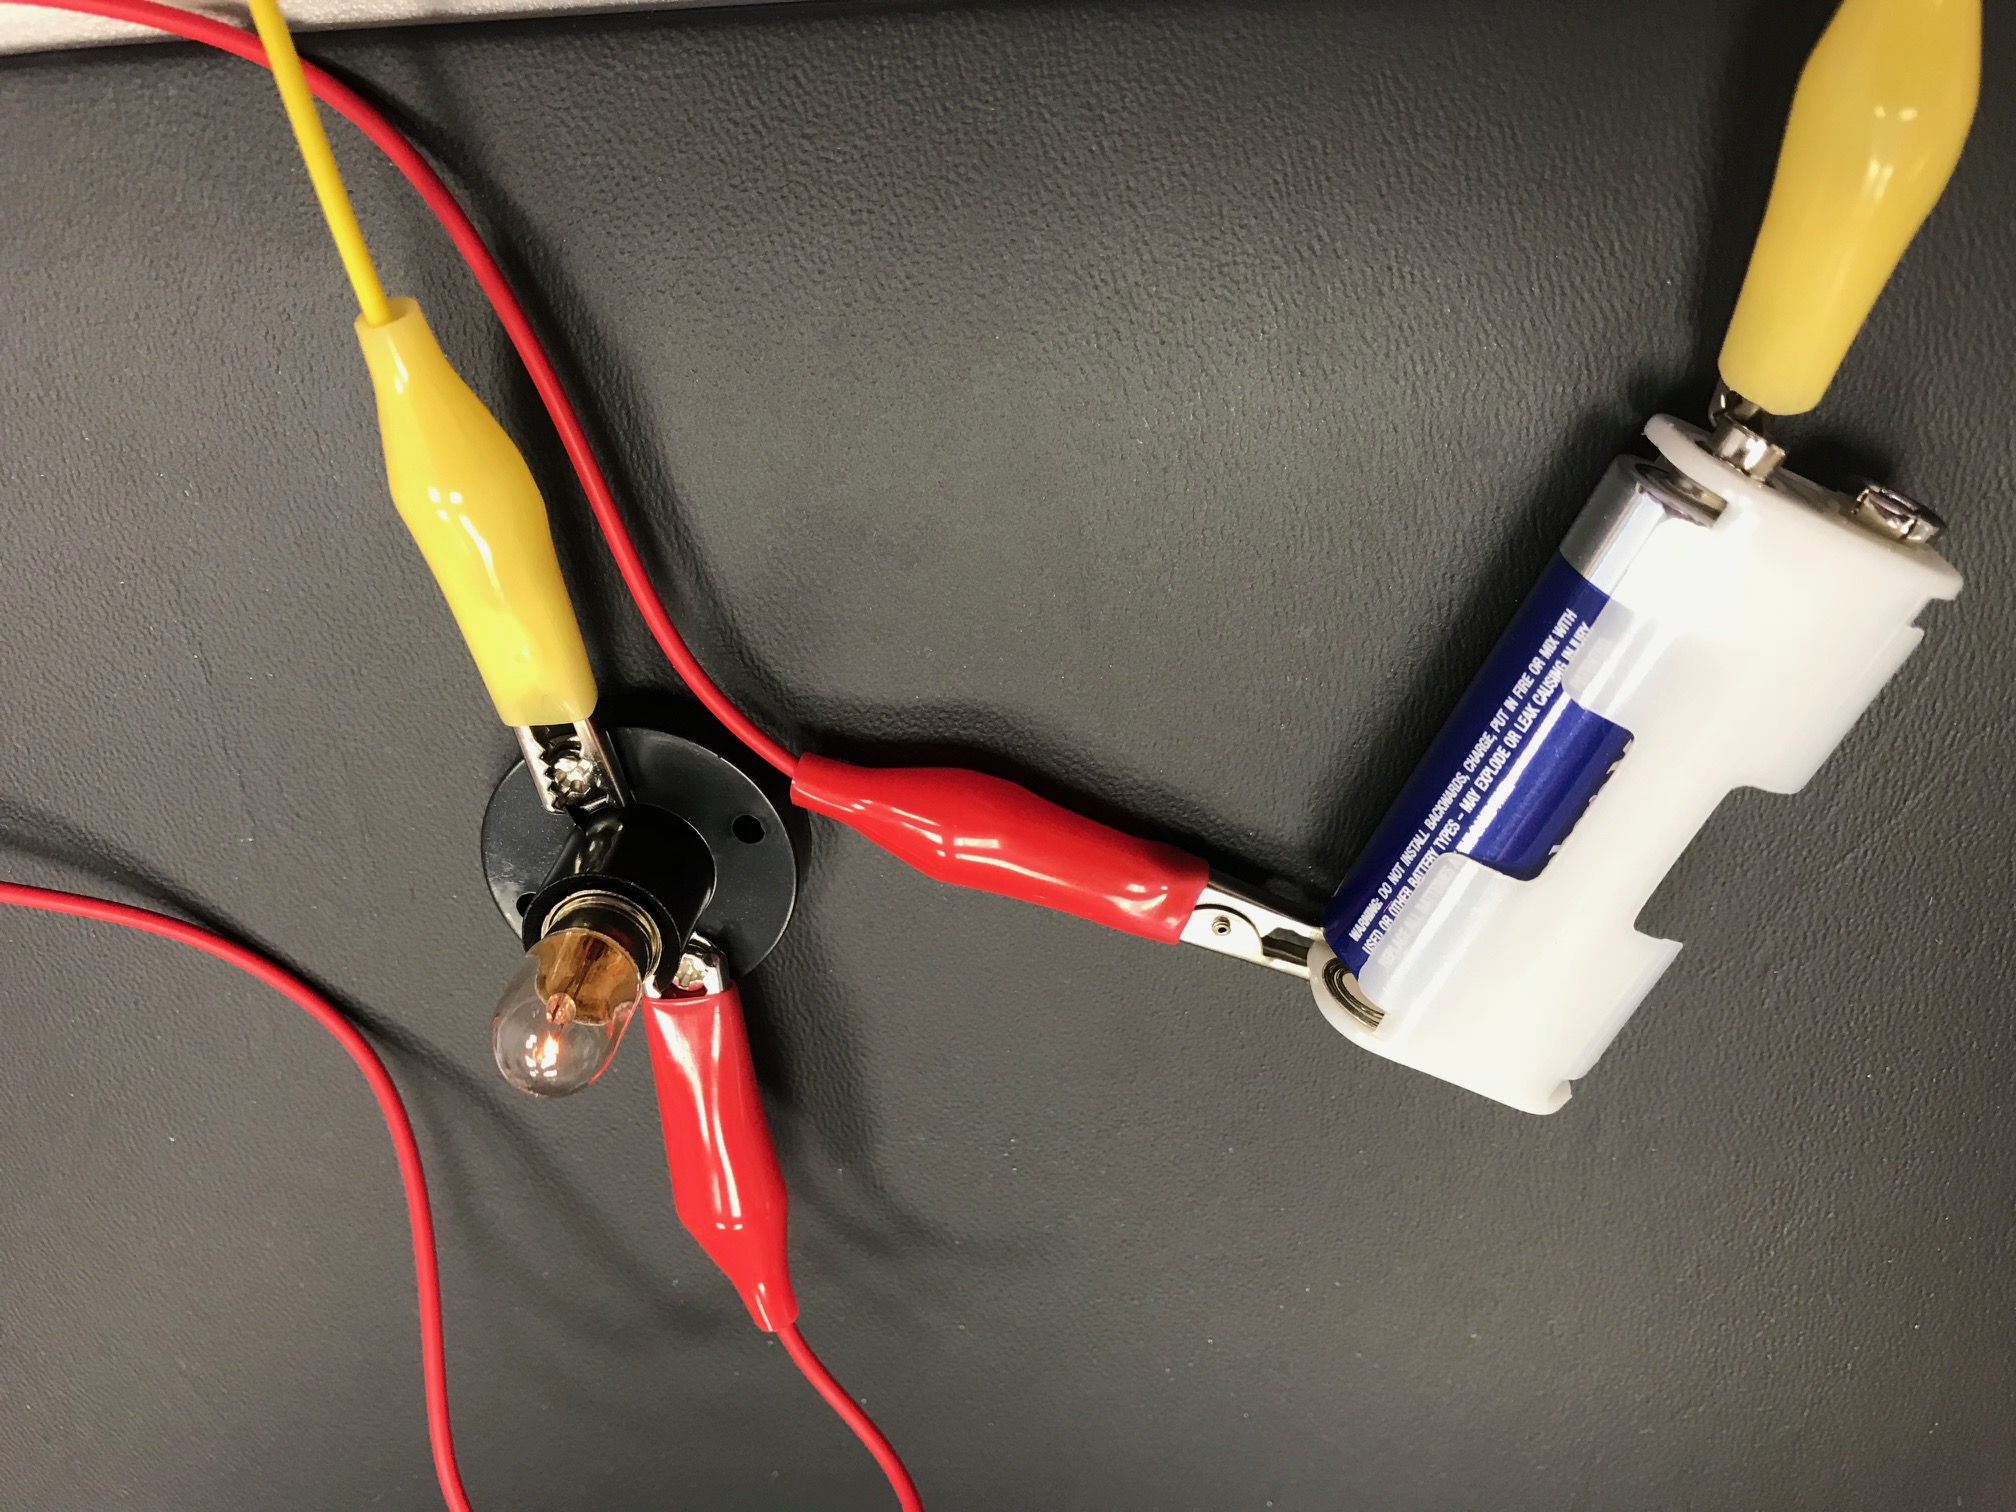
To build a circuit, clip one end
of one of the alligator clip wires to your battery and the other
end to one side of your resistor (or capacitor or bulb). Clip
one end of another alligator clip wire to the other side of the
resistor (or capacitor or bulb) and then the other
end to free terminal of the battery.
To measure voltage across the resistor,
set the multimeter to DC 2V or 20V. Be sure the red probe of the
multi-meter is in the port marked "V". Touch the probes to
either side of the resistor. If the reading is negative, you
simply have the positive and negative probes reversed, just
switch which side of the resistor they are touching.
To measure current, you will need to
disconnect the second alligator clip wire from the battery and
connect it to one probe of the multi-meter. Use a third
alligator clip wire to connect from the other multi-meter probe
to the battery. If you follow the wire around the circuit,
current will need to flow through the multi-meter. Switch the
dial to 10A to start. You may need to adjust the multi-meter to
the 20 mA setting to get a reading. To do this, turn the dial
and then switch the red probe to the port marked mA. BE CAREFUL NEVER TO PUT THE MULTI-METER
LEADS ACROSS A RESISTOR (IN PARALLEL WITH THE CIRCUIT) WHEN
IN CURRENT MEASURING MODE!
Note: The maximum voltage you can supply to a
resistor is determined from its power rating. Power used by a
resistor is P = IV. The resistors we are using here are rated at
either a maximum of 1/4 Watt or 1/2 Watt. The maximum voltage that
can be supplied to the lightbulb or capacitor is typically listed
on the device.
Note: One potential problem can lie in shorting
the circuit, so that the current does not run through a resistive
element; another potential problem is setting the voltage of the
power supply too high (be sure to always start at zero!) In these
cases a high current will run and could burn out a component (if
it gets hot or starts smoking....) This is something you
always want to be sure to avoid.
Safety Note: To avoid electric shock, or burning yourself
with a hot element, you should NOT touch any part of the circuit
while the battery is connected. Unclip one end of the plastic
covered alligator clips before changing the resistor.
Write-Up
-
If this is a formal lab (as indicated on the lab syllabus), you have been
instructed as to whether this is an individual or group write-up, or an oral
presentation. If it is a write-up, each person
must submit the lab electronically as a word-processed document in Moodle
before the next lab meeting. If it is a group write-up, you should all
be submitting the same document. For written formal labs, remember to check the "write-up hints" page to be sure
everything is included and check your write-up against the grading rubric.
- If this is an informal lab, work on the results together in your groups,
and be sure to have your complete informal lab in your lab notebook and
checked by the instructor before
you leave.
- Remember to read the next lab and do the pre-lab before you come to lab
next week! You may work on the pre-lab with others, but each person must
submit her or his own work.
Department
of Physics